You’re getting your cabin ready for summer. It’s tempting to grab a few buddies, and say “Hey – let’s put that boat lift in so we can drop the boat in the water and go for a ride!” First, though, take some preparatory steps to ensure no one gets hurt and your lift lasts the summer without a breakdown.
The inspection checklist
Drag the lift out in the open where you can check it over. But, check for nests before you do! Bees, hornets and wasps will put a stop to your work quickly. Once that’s done, here’s what to look for:
1. CHECK OUT THE LIFT FRAME
Start by inspecting your lift’s bones:
The inspection checklist
Drag the lift out in the open where you can check it over. But, check for nests before you do! Bees, hornets and wasps will put a stop to your work quickly. Once that’s done, here’s what to look for:
1. CHECK OUT THE LIFT FRAME
Start by inspecting your lift’s bones:
- Cracks and broken welds on the frame: Have these fixed immediately before installing the lift.
- Excessive rust (corrosion): Small amounts can be sanded or wire-brushed and painted, but larger spots should be checked carefully for weakness and repaired if necessary.
- Frozen bolts, pulleys and bushings: Ensure that all parts move freely. Grease any moving parts and fittings with marine, water-resistant grease. Ensure all bolts are tight. Replace worn or damaged bushings.
- Frayed cables: This is very important! Lift cables can become brittle and weak after years of use. If you have doubts about their stability, replace them. Also ensure that all cables are routed properly and seated in their pulleys; if they’ve jumped the track or gotten caught between a pulley and its housing, repair them.
- Bunk damage: Bunks support your boat, so it’s critical that you check for breaks, rotted wood, frayed and worn carpet, and loose mounting hardware. If your bunks are carpeted, ensure that the carpet is not packed with sand, which will damage your boat hull.
2. INSPECT THE ELECTRICAL
If you have a powered lift, check these:
If you have a powered lift, check these:
- Power cables: Check for frayed, corroded or broken electrical connectors and repair them. Of course, no power should be connected until you’re sure the system is ready.
- Test raise: Connect the lift motor and then perform a test raise and lower while standing on the bunks to provide weight.
- Gearbox: If your lift has a gearbox, ensure that the lift chain is lubricated and that the brake is working properly inside the gearbox. According to Mark Cory of ShoreMaster (a boat lift and dock manufacturer), this is critical to ensure that the lift will hold its position.
Keeping your crew safe
An injury to you or your crew will stop your installation and could be serious. So be sure to take the following precautions:
Before you put the boat on
The key words here are “level” and “balanced.” Ensure that the lift is leveled fore-to-aft and side-to-side before putting the boat on it.
When loading the boat, check the center of gravity (CG) to ensure that it’s not positioned too far forward or too far back on the bunks. Floe International’s Gary Johnson notes that Floe’s website has a great guide for checking CG and adjusting the lift for it.
Taking simple precautions will help ensure a safe and productive boat lift installation, and will keep it working smoothly all summer.
John Tiger has lived lakeside for 25 years, and has installed and removed docks and lifts countless times.
SOURCES
An injury to you or your crew will stop your installation and could be serious. So be sure to take the following precautions:
- Wear old sneakers or water shoes when putting the lift in the lake.
- Lift from the knees. If your lift is too heavy, get more help.
- Be especially careful about connecting the electrical system. Ensure that there is no one in the water when you do!
- (From personal experience) make sure your cell phone is safely on land, not in your pocket, when you wade into the lake.
- Save the alcohol for celebrating after a successful installation.
- Check your installation options. Floe International, for example, offers wheel kits (“Float and Roll”) and a remote leg-leveling system to make the installation and leveling processes easier.
Before you put the boat on
The key words here are “level” and “balanced.” Ensure that the lift is leveled fore-to-aft and side-to-side before putting the boat on it.
When loading the boat, check the center of gravity (CG) to ensure that it’s not positioned too far forward or too far back on the bunks. Floe International’s Gary Johnson notes that Floe’s website has a great guide for checking CG and adjusting the lift for it.
Taking simple precautions will help ensure a safe and productive boat lift installation, and will keep it working smoothly all summer.
John Tiger has lived lakeside for 25 years, and has installed and removed docks and lifts countless times.
SOURCES
- Floe International, www.floeintl.com
- ShoreMaster, www.shoremaster.com
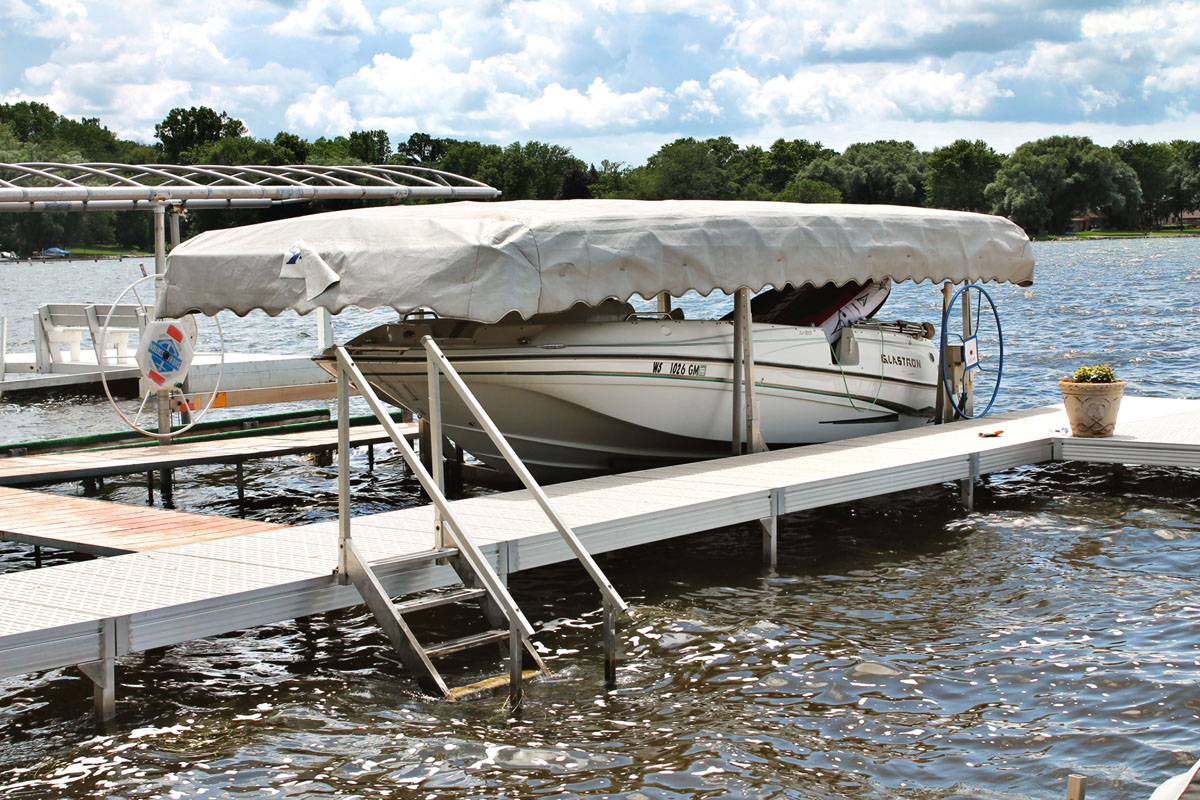
3. TAKE A LOOK AT YOUR CANOPY
If your lift has a protective canopy, check the following
4. CHECK THE HYDRAULICS
Though most hydraulic-powered lifts use environmentally-friendly fluid, yours will still make a mess in the lake if one of the fittings fails. So inspect the following:
If your lift has a protective canopy, check the following
- The frame: Aluminum or steel frames often sustain damage over the winter. Test-fit yours before installing.
- The canopy: Over time, these can deteriorate, rip and tear. If yours won’t cover the boat, consider having it repaired or replaced. It may need a good washing to get rid of bird droppings, tree sap and dirt accumulated over the off-season.
4. CHECK THE HYDRAULICS
Though most hydraulic-powered lifts use environmentally-friendly fluid, yours will still make a mess in the lake if one of the fittings fails. So inspect the following:
- Fittings and lines: Look for degradation and corrosion. Replace if necessary.
- Operating range: Test the unit through its full range of operation before putting it in the water.